Sifted sand this morning. We were all in a funk so Agape asked me if I wanted to do some hard work. It actually worked, too! (Don't get any ideas, parents). Anyways, we sifted sand, got our muscles and blood moving and it woke us up pretty well. We shoveled gravel into a sifter and sifted the fine sand into a pile. That sand went into bags (white bags) for use later.
Agape told me to smile at least once:
The onlookers, quite happy playing with old bike tubes:
We also rendered wax today! I have been waiting to do this myself to see how easy the process was. It turned out to be very easy.I had gathered some yucky wax from feeding hives yesterday. During inspections, I often have to cut off comb, old comb, or side comb. We end up keeping it so that we can render it all later.
The bag of wax and the pillow case we used:
We boiled the wax in about 4 inches of water on the stove, nice and hot until it boiled:
It was hot in the kitchen, we had some visitors:
After boiling the wax, we poured it into the pillowcase. The pillowcase went into a five gallon bucket which had a small hole on the side right next to the bottom. The part I did not realize was throwing out the initial liquid. We threw out the liquid that first came out of the bucket becuase it was mostly water. Agape showed me how to watch out for the indications of wax like oily surface and it sticking to the sides of the bowl. Once wax started to come out, we pressed the wax out of the pillow using a wooden device that fit into the bucket (there is a picture of it on the previous post about rendering wax).
The bucket system:
Afterwards, we let the wax sit in the bowl until it cooled. The result was a wheel of wax that was mostly clean. Any debris that came through sank to the bottom of the bowl with the water as it sat. The wax can be melted again and filtered after this.
The wheel of wax:
Dumplings for dinner, my favorite (as I've mentioned before). I love when there is a huge pile of them:
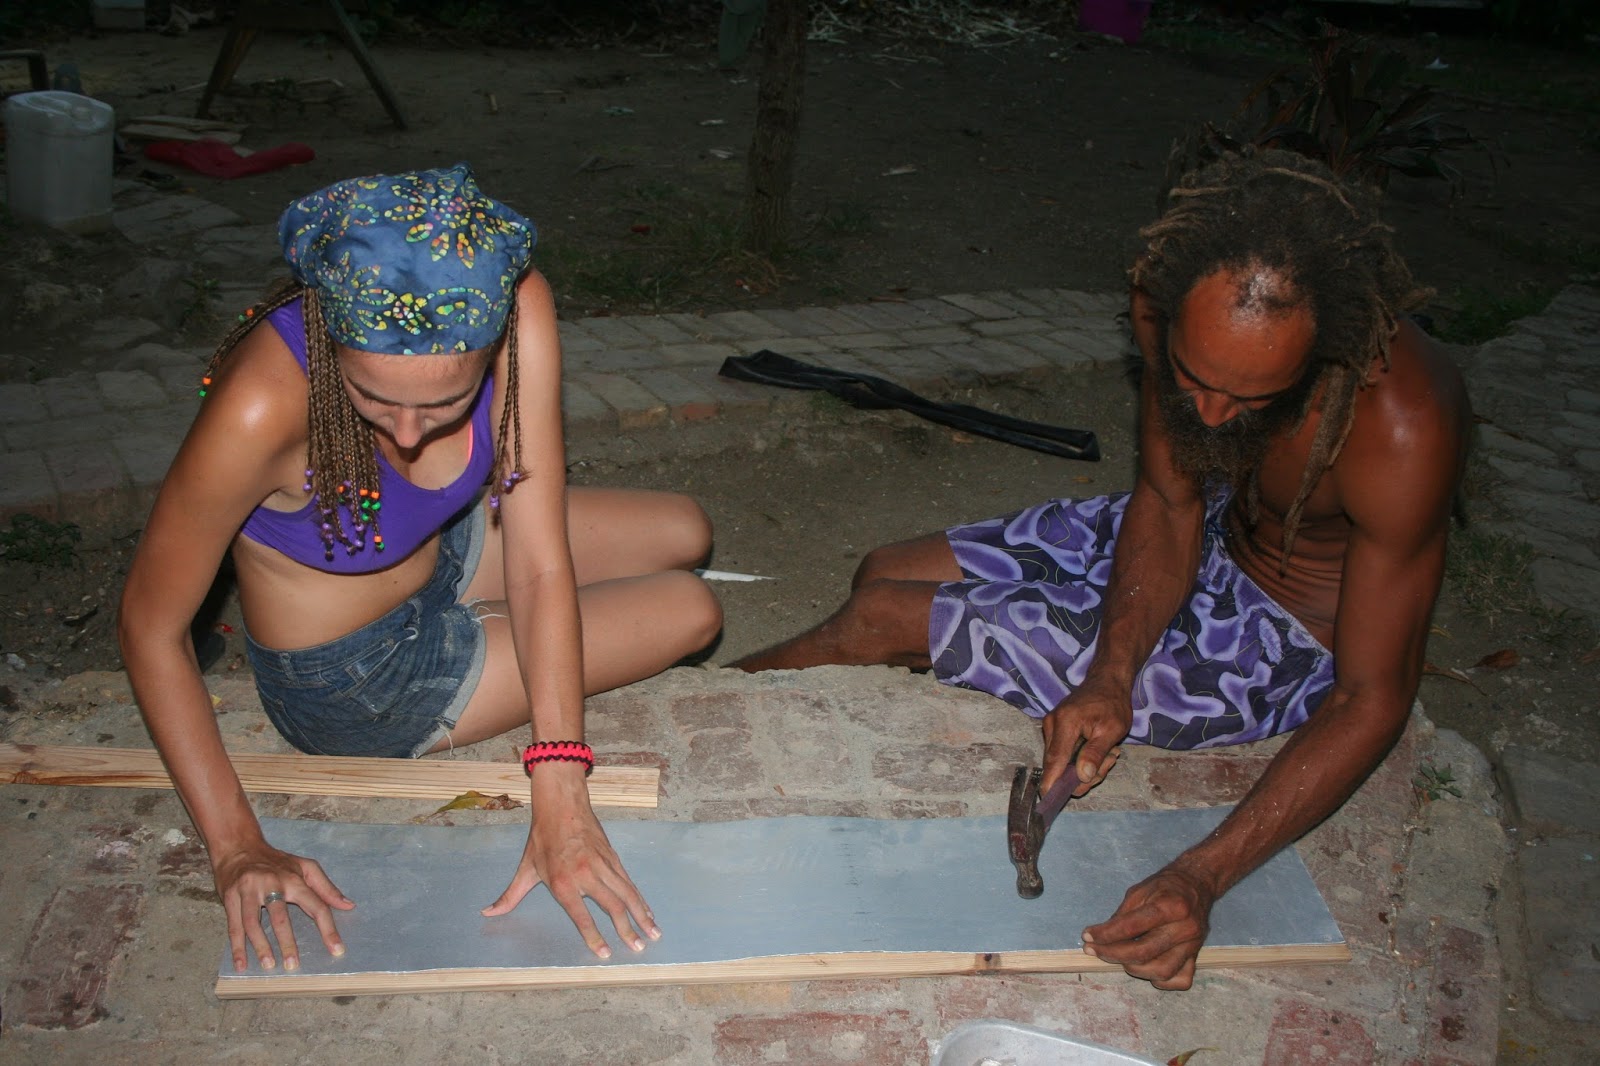
Kwao and I started on building a new hive using scrap tin for the sides. It got dark pretty quickly but we measured, cut, and assembled the two sides with tin and a wooden frame. Hopefully it will turn out alright becuase the tin was not square and it was a little off in nailing it together. Also, to avoid splitting the wood (if you are using wood that splits, which we were: pineboard) here are two helpful hints: turn the nail over and hit the tip a few times to dull it and don't put the nails in a straight line on the same grain of the wood. Kwao and I both liked the look of tin and wood becuase it turned out really sleek looking. We will build the rest of the hive tomorrow.
Nailing one side together:


Meg,
ReplyDeleteThe wheel of wax looks like ours but alot cleaner.
Seeing you hard at work sifting gravel and sand gives me plenty of ideas (!)
Dad